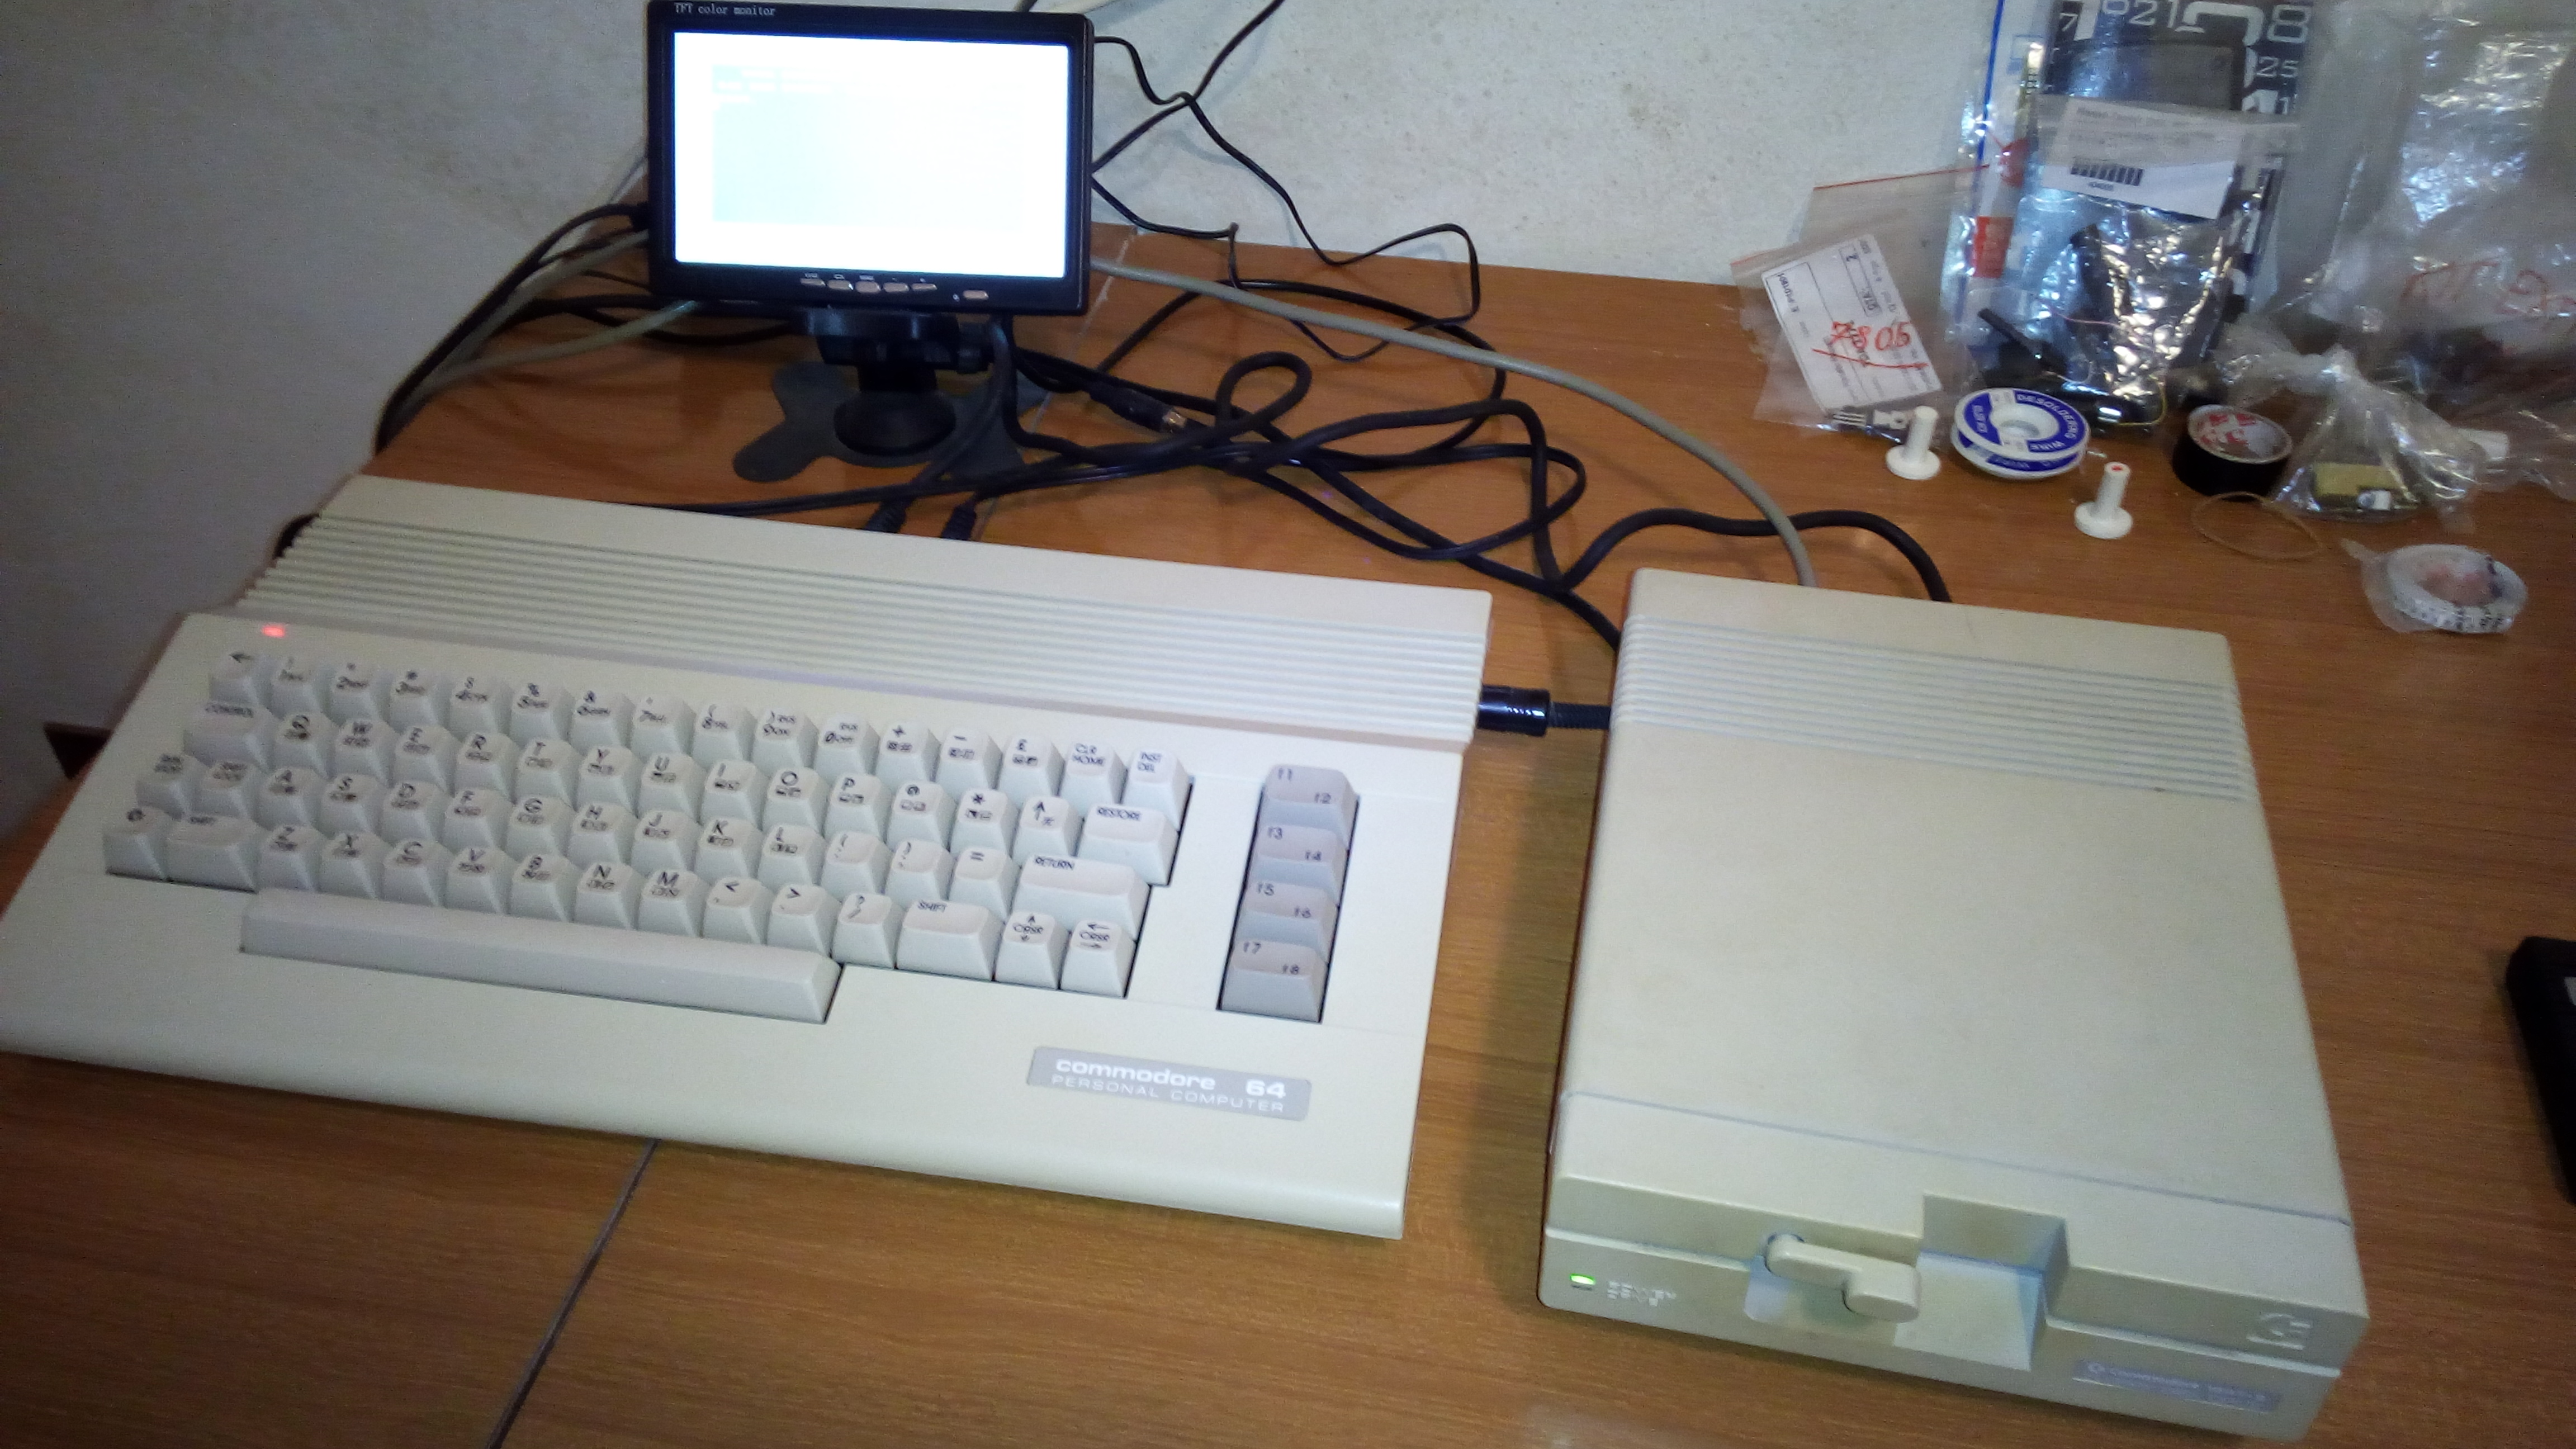
Today I have fixed a 250469 board Commodore 64 C which was plagued with intermittant operation. The machine would not start sometimes, showing a blank screen.
The machine had already been repaired by someone else.
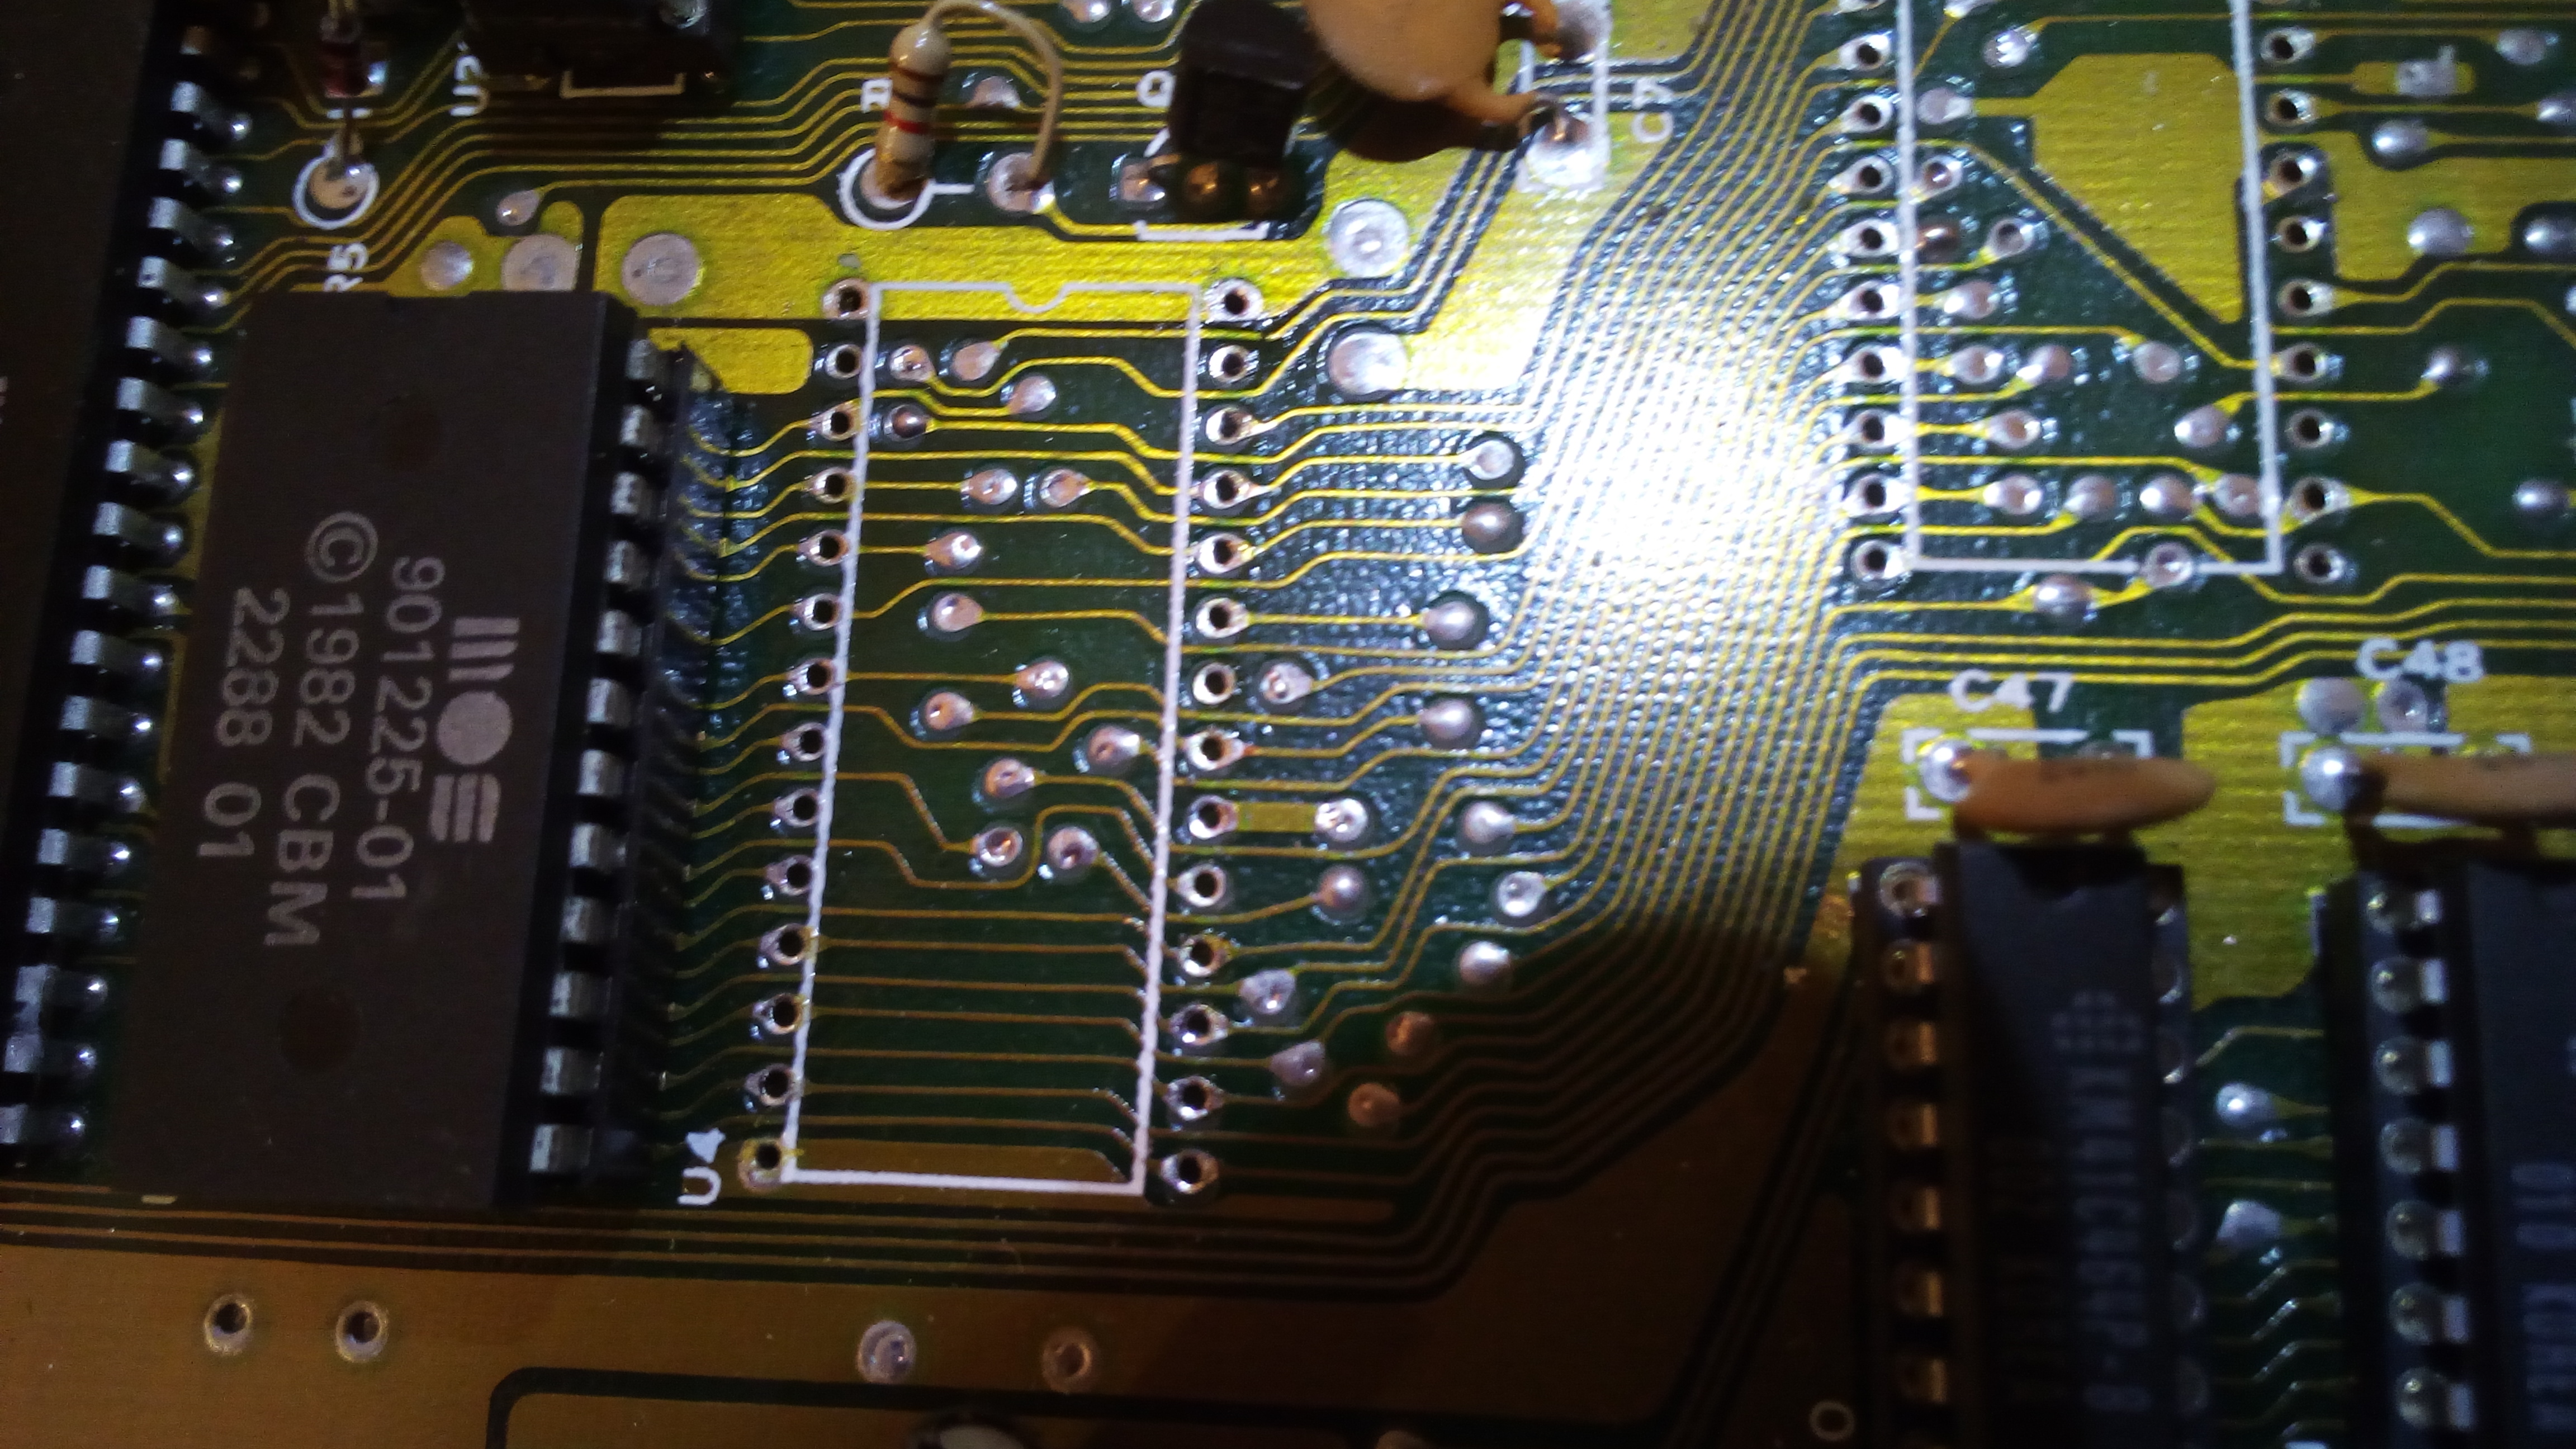
On previous repair work, the machine had CPU, RAMs and ROMs replaced. Also all glue logic chips were socketed. These are usually never socketed on C64cs from the factory, so they were desoldered and replaced during previous repair work for sure. I don’t know if they were all really faulty or not (I doubt they all were to be honest). Chips were socketed using turned contacts sockets.
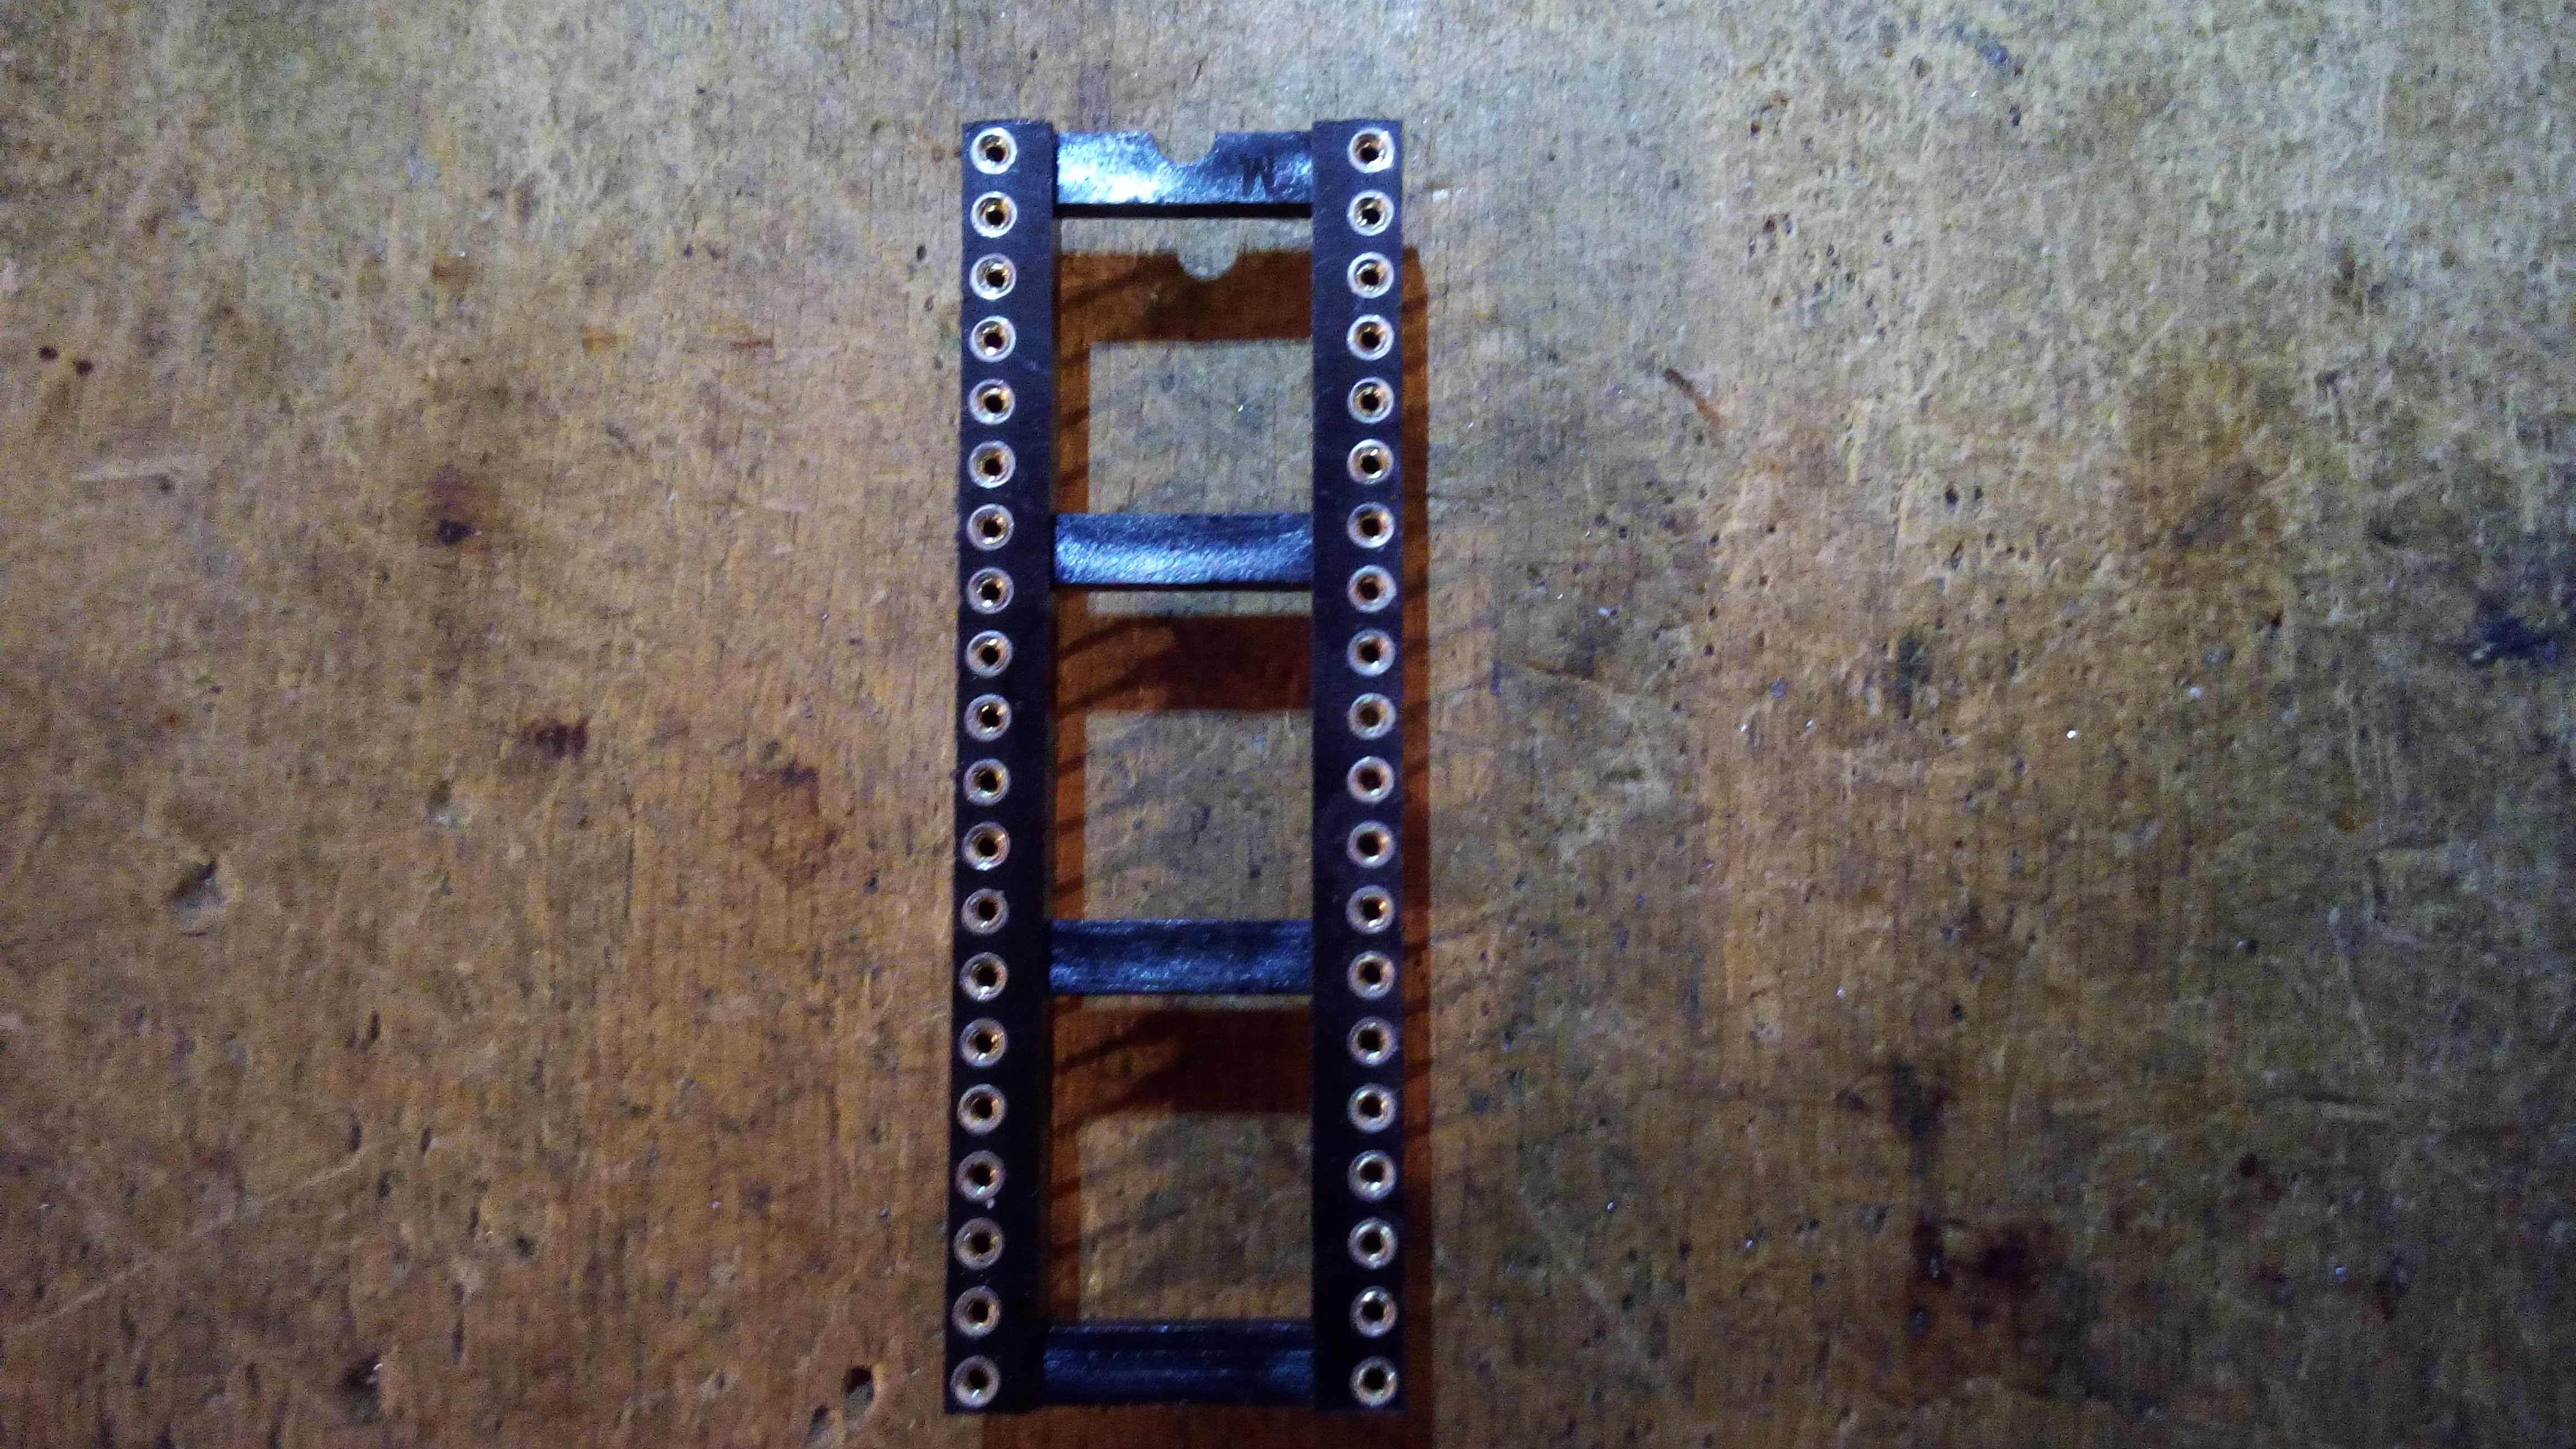
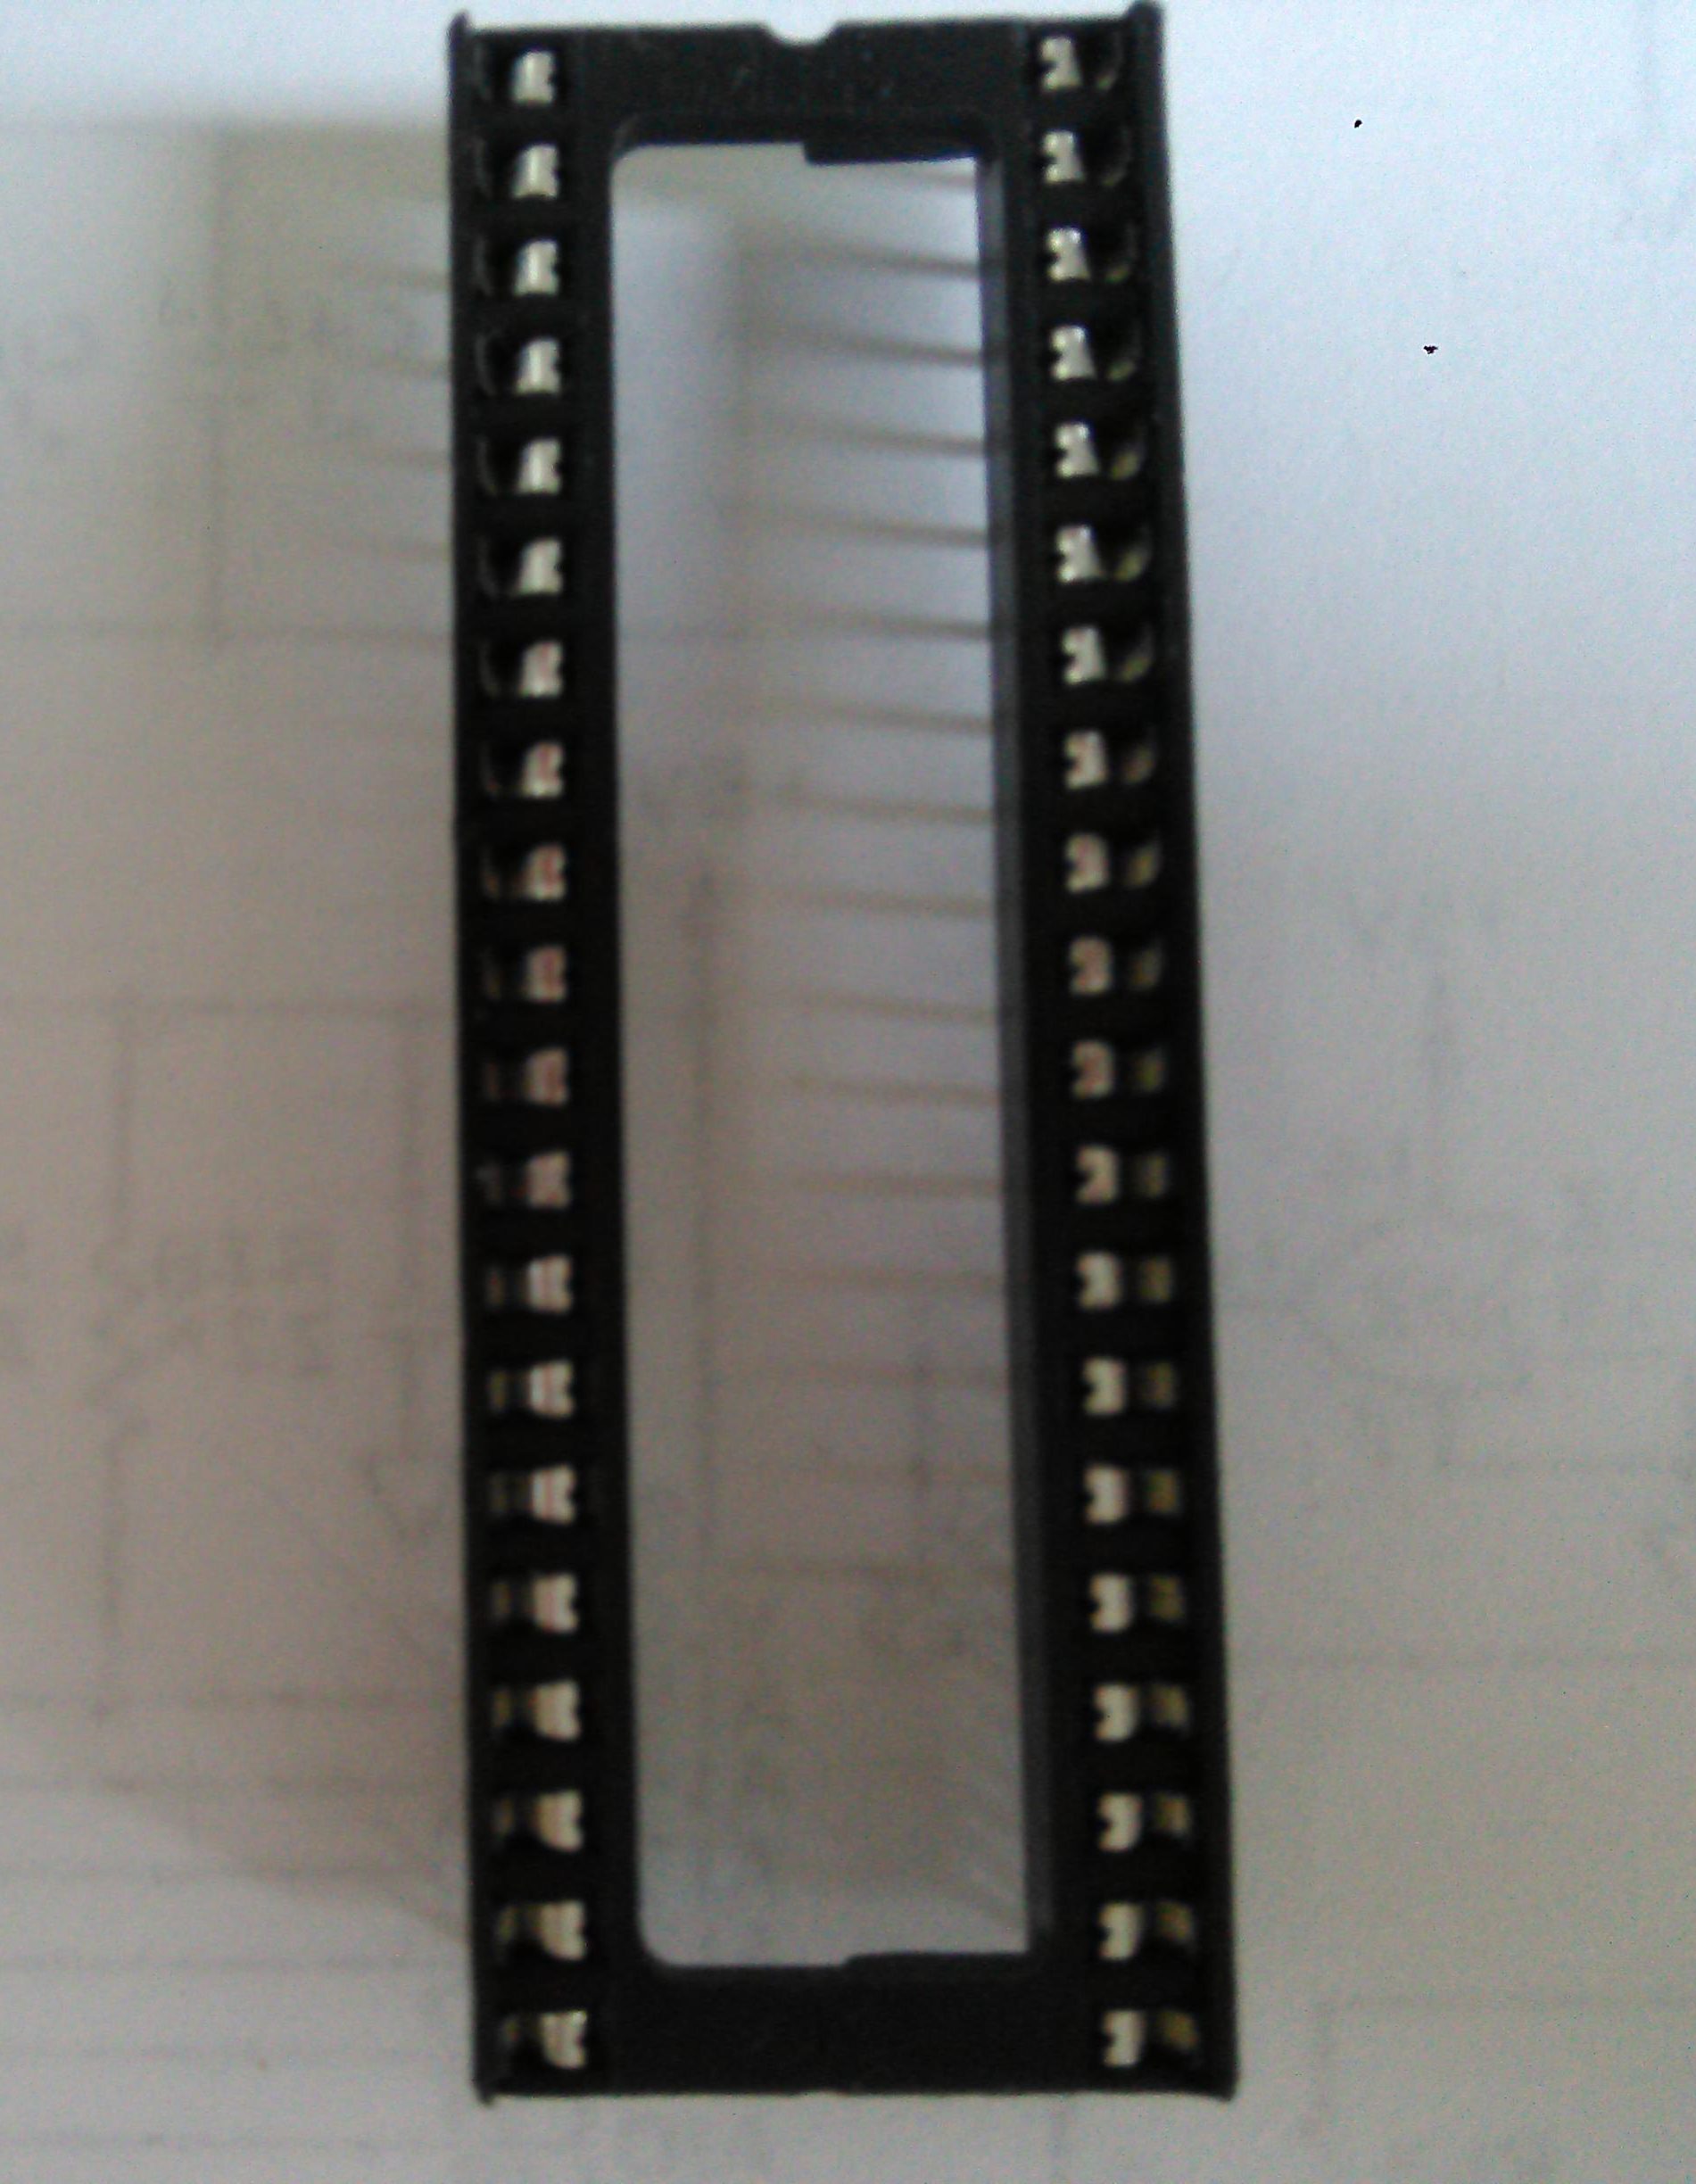
On the above picture, a turned contacts socket is on the left, while a dual leaf socket is on the right.
I did some tests with a Dead Test cartridge. Sometimes, I got a permanent blank screen. Sometimes, I got the test performed properly.
When the Dead Test Cartridge is not able to perform its test, a PLA, CPU or VIC-II related problem may be the case. Of course, there are many other possibilities. You may have a look at this article for further details on Commodore 64 troubleshooting.
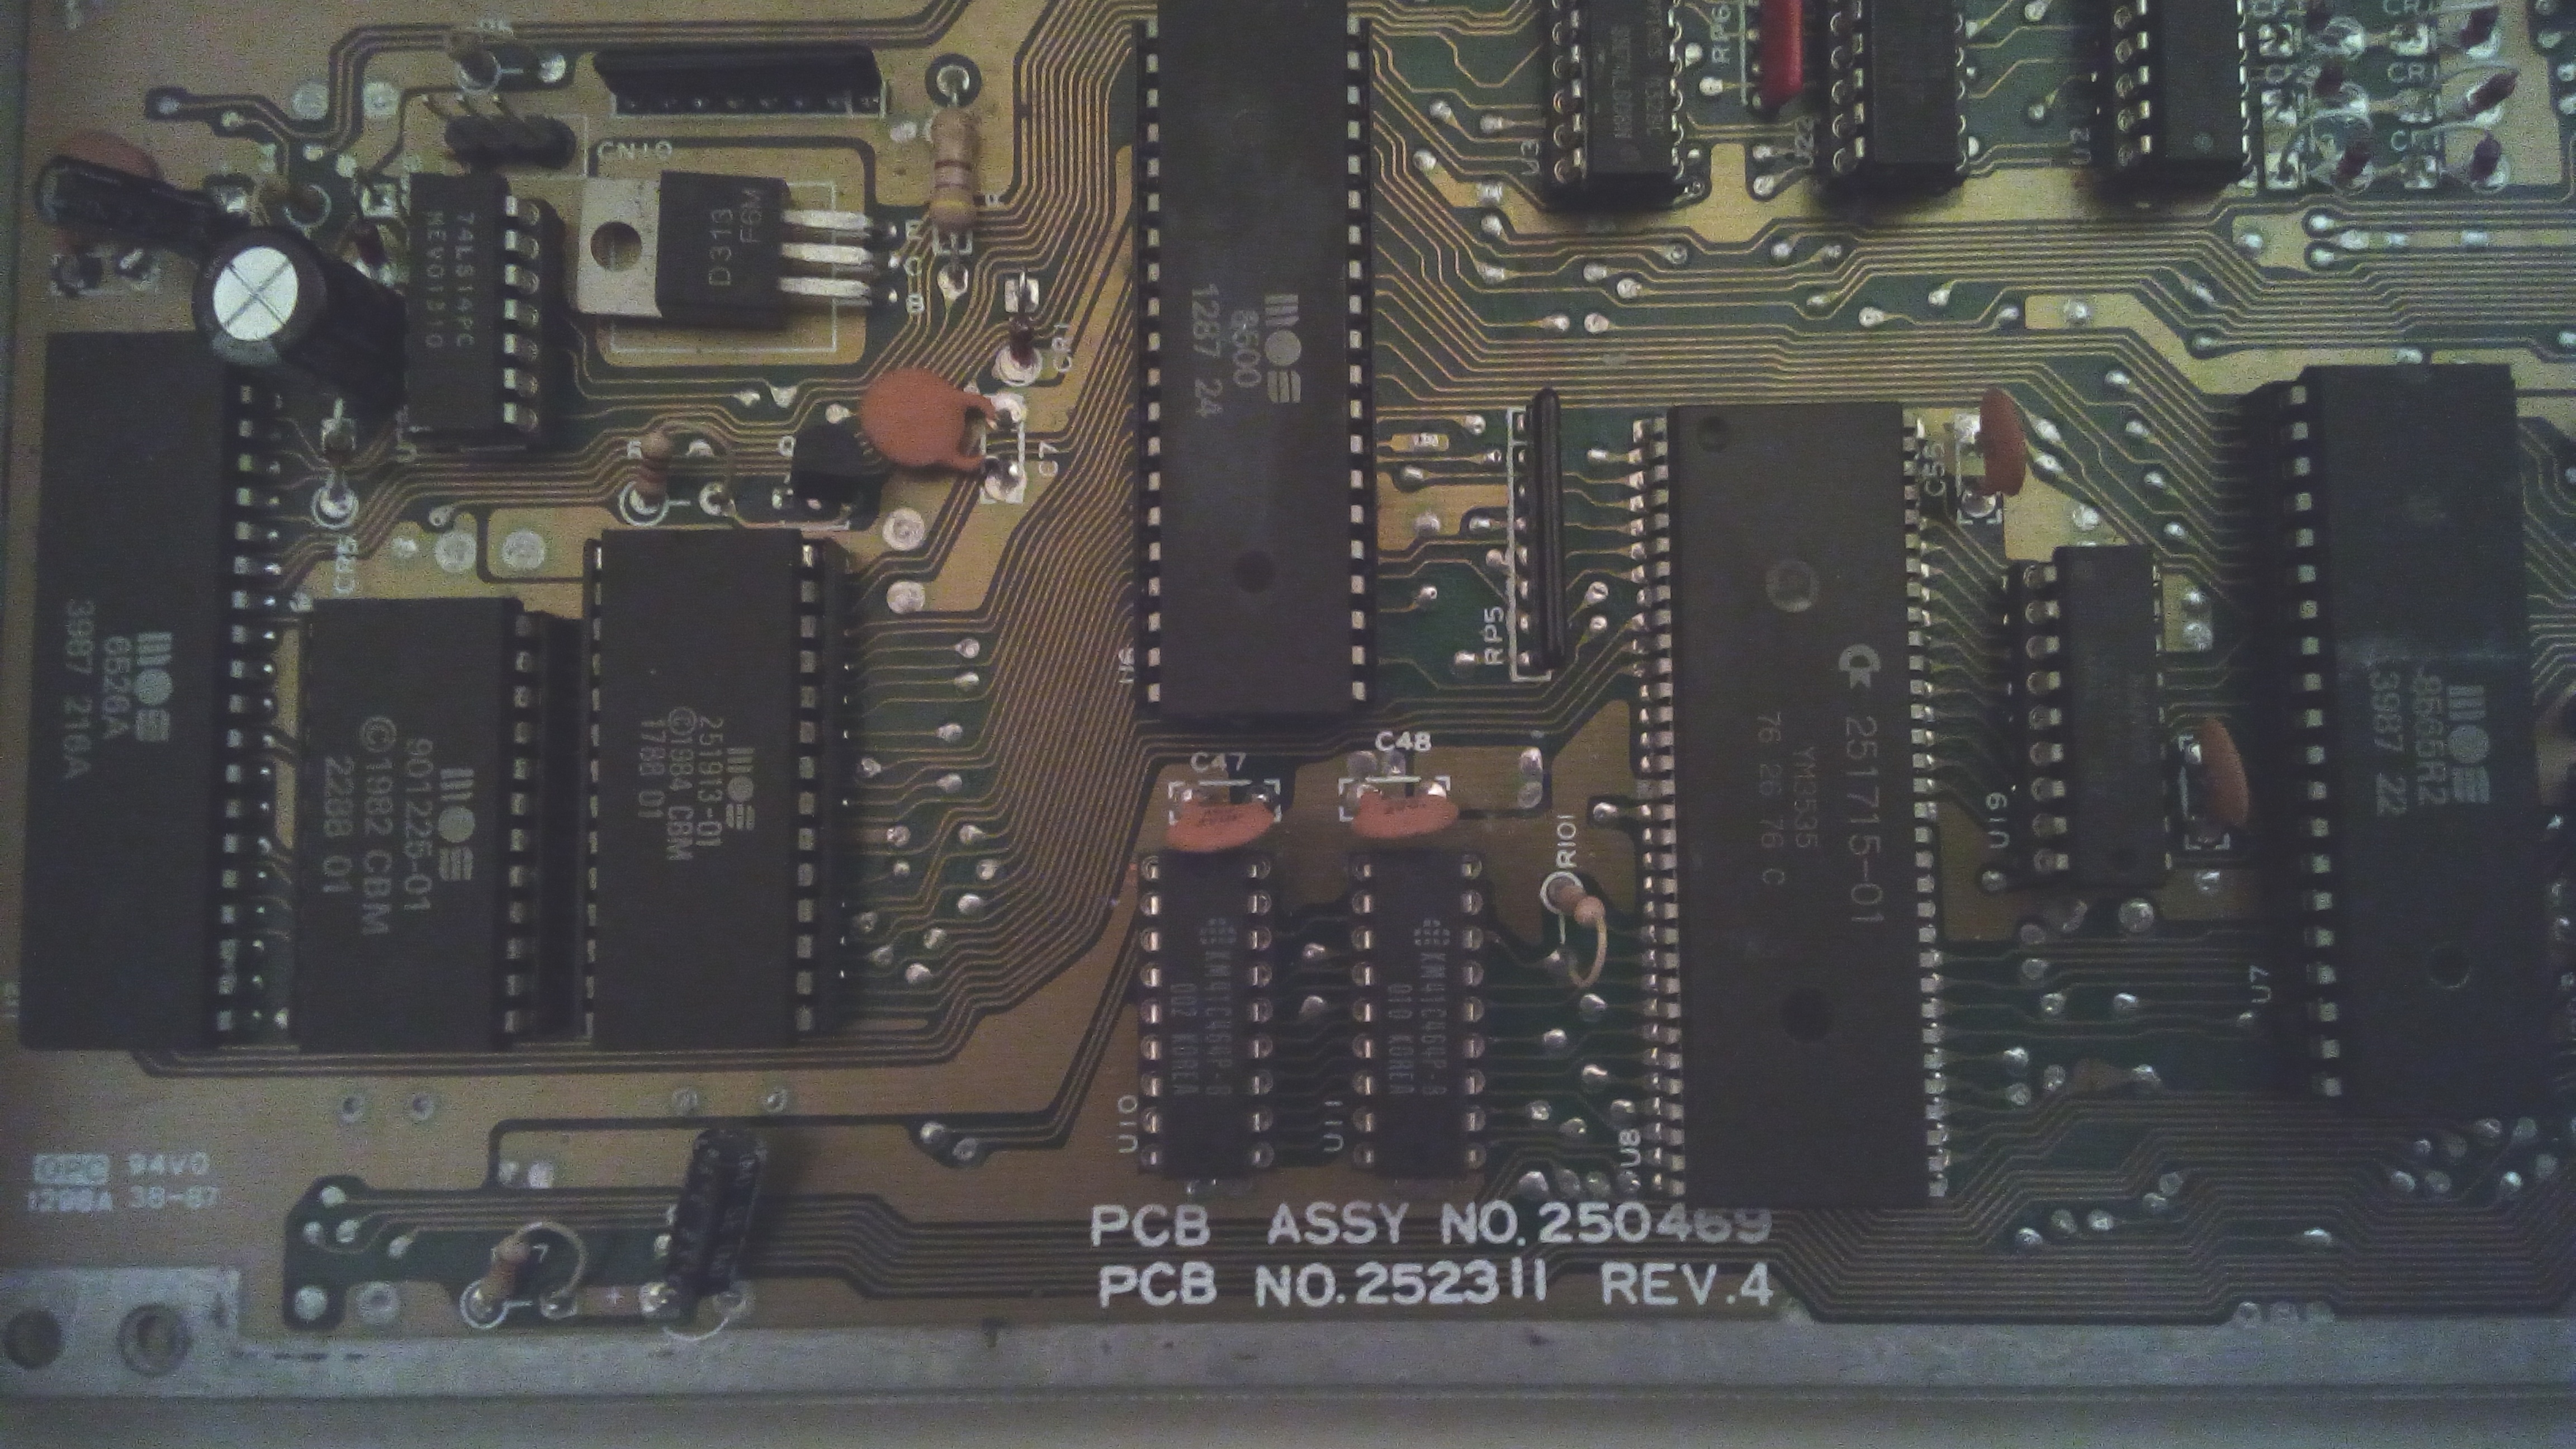
The board is a 250469, so it features the “Super PLA”. This is a quite reliable chip, it runs cool, so I was thinking the problem was something else. As the CPU had been socketed, poor contacts on the socket could be an issue. At a certain point, I had a constant blank screen. But, after pulling the CPU off and then by reinserting it, the machine could perform the Dead Test Cartridge test properly. That confirmed a problem with the socket. I had to bend CPU pins a bit in order to make a stronger contact, or at least to try to.
Still, the machine would not always boot properly without a test cartridge. That made me think of a ROM related problem as well. In facts, the BASIC+KERNAL 28 pin ROM chip had been socketed with a turned contact socket. Again, by pulling off and then by reinserting the chip, I finally got the machine booting properly every time.
But, I realized the chips could not just make a strong contact with the turned holes sockets. I tried to bend the pins a bit in order to get a bigger distance from the two rows of pins, but nothing. I tried to get a good pins alignment, but there was just no way of getting a strong contact. So, whenever I moved the machine a bit on my desk, it was no longer able to boot properly, and I had to pull off CPU and BASIC/KERNAL ROM and reinsert them to get the machine going again.
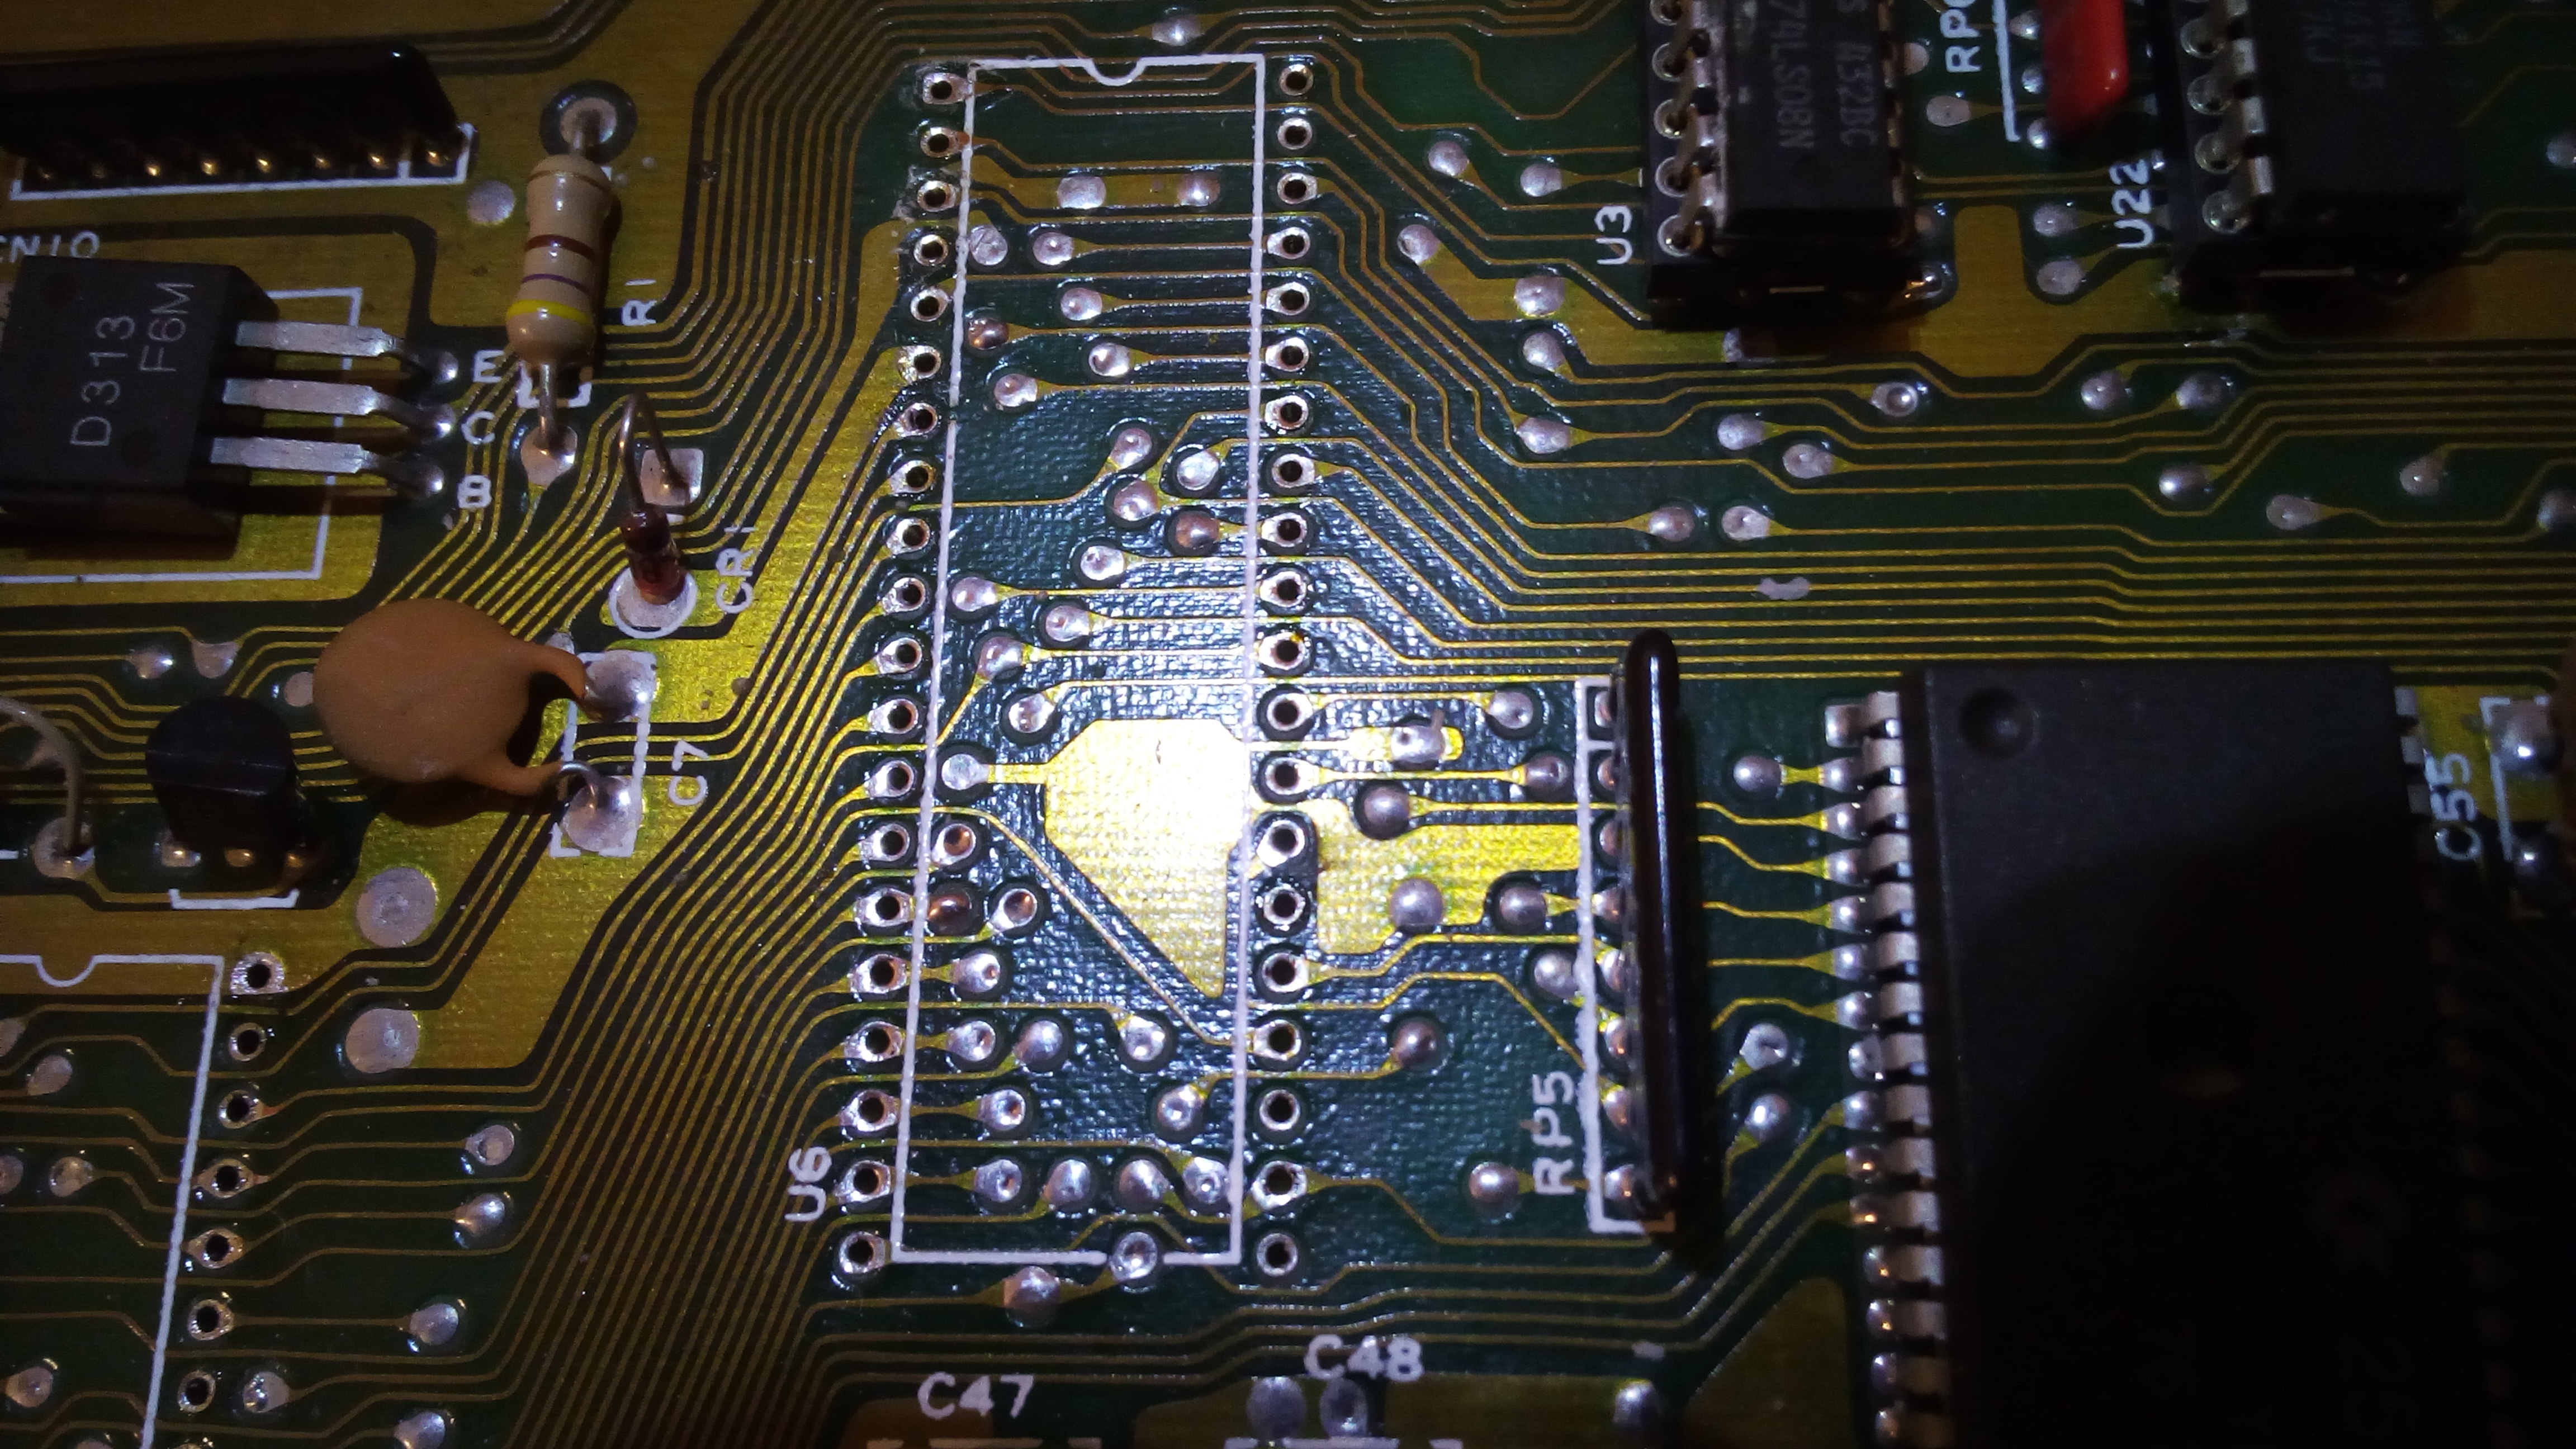
So, I decided to take out the turned holes sockets and to install dual leaf sockets. It was a good decision, because as soon as I turned upside down the board to inspect the solder side, the CPU just fell off, despite of my efforts.
Desoldering sockets is a bit tricky, and turned holes sockets are the most difficult. You don’t have access to the upper side of solders, so you can only desolder contacts from the solder side of the board. To make things even worse, turned holes sockets contacts have a tendency to absorb heat. That makes it difficult to melt the solder from both sides of the board. So, I had to take extreme care.
With a heavy duty desolder pump and a 40 W solder iron I was able to desolder both sockets with no damage to the board. I had to do intentionally some damage on the ROM socket, as two contacts were soldered on large copper areas. After all, the priority here is to do no damage to the board and I decided not to take any risk on that. The CPU socket was desoldered intact instead.
Being sure that pins were loose was the key to perform this task. After desoldering with the pump, applying a force horizontally to each pin, very gently, with a flat screwdriver, was really helpful. Do not try to pull off the socket by using a screwdriver if you are not sure ALL pins are free. Otherwise, you will damage the board.
After installing dual leaf sockets, I finally got a perfect contact. Eventually, I can move the machine as much as I want: contacts are reliable now.
So, I think that dual leaf sockets are the best choice for retrocomputers repair. They accept chips with no problems, even if these chips have been desoldered and their pins alignment is not perfect.
I don’t know if these turned holes sockets had some kind of fault. Maybe they were cheap and contacts alignment was poor (by looking carefully at those contacts, I had this impression). Anyway, dual leaf sockets are definetely my choice for my repairs.
You may like to read my article on sockets for further details on advantages and disadvantages of each kind of socket.
Good article, thank you!